
Claude Code — MEMORY.md: Everything you need to Know & How to get started?

You no longer need to worry about losing session context in Claude Code. The new auto-memory feature fixes one of the most annoying parts of the workflow. If you have used Claude Code before, you probably know the problem well. You close a session, come back the next day, and Claude starts from zero. That usually means repeating the same project details, preferences, and decisions just to get back to where you were.
Anthropic has now introduced auto-memory for Claude Code, and the goal is simple: make that handoff between sessions much smoother. Claude can now build and maintain its own memory while working with you. As you go, it quietly keeps track of useful context around your project, such as build commands, coding preferences, architecture choices, and even the difficult bugs you solved together.
When you open a new session, that context is already there, so you can continue from where you stopped instead of starting over. What makes this feature especially interesting is that you do not have to manage it manually. Claude handles it on its own.
Most Claude Code users are already familiar with CLAUDE.md, which is the file used to give Claude instructions. Auto-memory adds a second layer with a new file called MEMORY.md. Unlike CLAUDE.md, this file is written and updated by Claude itself, acting like an ongoing scratchpad across sessions.
I tested Claude Code’s new auto-memory on a real project to understand what Claude chooses to remember, where that information is stored, and how reliable it is when returning to a fresh session. In this article, I will explain how auto-memory works, break down the difference between CLAUDE.md and MEMORY.md, share the results of my testing, and show how you can control the feature when needed.

1. How Auto-Memory Works in Claude Code?
Auto-memory is turned on by default as soon as you update Claude Code. There is nothing you need to install or set up. It starts working right away. As you work through a session, Claude quietly watches what is happening and keeps notes. It decides on its own what to save for future sessions.
Here is the kind of information Claude stores:
Project patterns, such as build commands, test workflows, and how the codebase is organized
Debugging insights, including solutions to difficult issues and the root cause behind specific errors
Architecture notes, like important files, relationships between modules, and core abstractions
Your preferences, such as communication style, workflow habits, and tool choices
The key point is that none of this depends on manual input. Claude chooses what matters and writes it down automatically.
Where Auto-Memory Is Stored?
Each project gets its own memory directory, stored at: ~/.claude/projects/<project>/memory/
The <project> path is based on the root of your Git repository, which means all subdirectories inside the same repo share the same memory location.
If you are using Git worktrees, each worktree gets its own separate memory directory. Outside a Git repository, Claude falls back to the current working directory instead.
Inside that folder, you will usually find a structure like this:
~/.claude/projects/<project>/memory/
├── MEMORY.md          # Main index loaded at the start of each session
├── debugging.md       # Notes about debugging history and recurring issues
└── ...                # Other topic files Claude creates when needed
MEMORY.md is the main entry point. It works like an index of everything Claude has saved, and it is the only memory file loaded automatically at the beginning of each session.
Understanding the 200-Line Limit?
One important detail to keep in mind: Claude loads only the first 200 lines of MEMORY.md into its system prompt when a new session starts.
Once MEMORY.md starts getting too long, Claude is expected to move more detailed notes into separate topic files, such as debugging.md or api-conventions.md, while keeping the main file short and useful. Those extra topic files are not loaded at startup. Claude only reads them during the session when it needs that specific context.
So the workflow looks like this:
A new session starts, and the first 200 lines of
MEMORY.mdare loadedClaude needs a specific piece of debugging history, so it reads
debugging.mdon demandClaude learns something new, then updates
MEMORY.mdor one of the topic files
One thing I noticed while testing is that this does not happen as a background process, which is what I first expected. You can actually see Claude read from and write to the memory directory in real time during the session.
What is the Difference between CLAUDE.md & MEMORY.md?
A lot of developers will probably ask the same question: why do we need MEMORY.md if CLAUDE.md already exists? Let’s clear that up.
CLAUDE.md has always been part of Claude Code. It is the file where you write instructions, rules, and preferences that you want Claude to follow.
MEMORY.md works differently.
You do not write MEMORY.md yourself. Claude creates it and updates it automatically.
The easiest way to think about it is this: CLAUDE.md is for your instructions, while MEMORY.md is Claude’s own scratchpad. Inside MEMORY.md, Claude keeps track of useful context it learns while working with you, such as:
your preferences
recurring project patterns
commands that work
commands that fail
useful notes from past sessions
And the important part is that Claude builds this over time on its own, without needing manual input from you. So the difference is simple:
CLAUDE.md: this is where you tell Claude what to do
MEMORY.md: is where Claude keeps notes for itself
Together, these two files give Claude a better context at the beginning of a session.
One tells Claude how you want it to behave. The other helps it remember what it has already learned about your project.
Understanding Claude Code Memory Hierarchy
Claude Code does not rely only on CLAUDE.md and MEMORY.md. It actually works through a layered memory system. Each layer has a different role, depending on who the instructions apply to and how widely they should be used.
The main idea is simple: more specific instructions override broader ones.
That means a project-level CLAUDE.md takes priority over your global user-level memory. Auto-memory also lives at the project level, which means it is scoped to you and to the specific project you are working on.
Another useful detail is CLAUDE.local.md. This file is automatically added to .gitignore, which makes it a good place for private local settings, such as sandbox URLs, local testing notes, or anything else your team does not need to share.
What Claude Loads at the Start of a Session
When you open a new Claude Code session, Claude loads context from multiple layers.
This usually includes:
Your organization’s policy, if one exists
Your project-level CLAUDE.md with shared team instructions
Your personal ~/.claude/CLAUDE.md preferences
the first 200 lines of MEMORY.md, which contain Claude’s saved notes
So before you even write your first prompt, Claude already has a working understanding of your project conventions, your preferences, and the context it has learned from previous sessions.
Claude Code Auto Memory into Action
Let’s put the auto memory into action by creating a project from scratch and see how the auto memory works.
1. Update Claude Code
First, to make sure that the auto memory features are available, you need to make sure that you have the latest Claude Code version.
claude update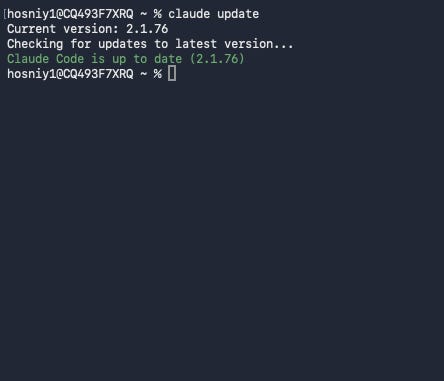
Then you can check the current version you have; it should be after 2.1.76
claude --version2. Set up a Test Project
Now let’s set up a test project and initiate git inside this folder.
mkdir test-claude-memory && cd test-claude-memory
git init
Running git init matters here because Claude Code relies on the Git repository root to figure out where memory should live. So if your project is not a Git repo, this project-level memory setup will not work as expected.
Now we are ready to run Claude Code inside this test project
claude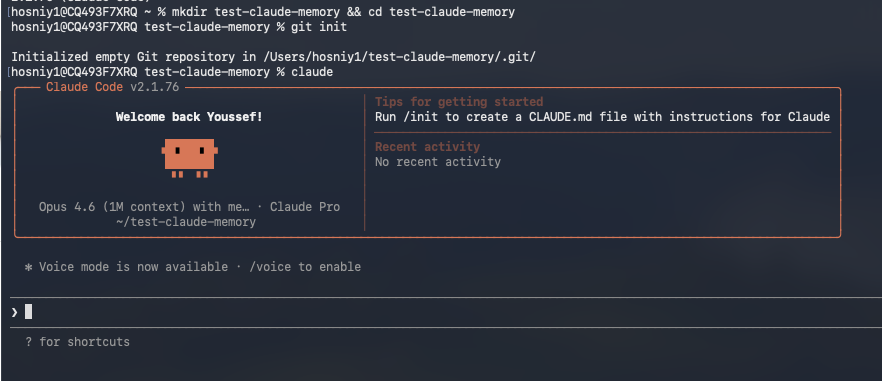
3. Getting Started with Claude Memory
Auto-memory does not create files just because you opened a session. Claude needs to work with you on something before it starts taking notes. I instructed Claude Code to build a rag pipeline with LangChain.
